How I transform an unedited photograph into a stunning final image.
As a sports photographer, especially for rugby and football, I am fortunate to have two very capable cameras and excellent lenses. I use a Canon R5 mirrorless camera and a Canon 90D DSLR—both outstanding in their own right. These pair wonderfully with my Canon EF 70-200MM F/2.8L IS III USM and EF 24-70MM F/2.8L II USM, both professional L-series lenses.
The 70-200mm lens, my main “workhorse,” was used to capture the photos on this page. Unfortunately, I am still missing the "holy grail" of lenses for sports photography: the Canon 400mm F/2.8L IS III USM. Priced at £12,999 from Canon, it’s a bit beyond my budget!
Nevertheless, after post-production, I can still achieve excellent results, even when taking pictures from the other end of the pitch at the full 200mm zoom.
The images on this page were taken from behind the in-goal area (behind the dead ball line) while the players were on the opposite 22m line, approximately 100m away.
The photos were shot on a cloudy day in early February, and I used Adobe Lightroom Classic for editing.
The photos were shot on a cloudy day in early February, and I used Adobe Lightroom Classic for editing.
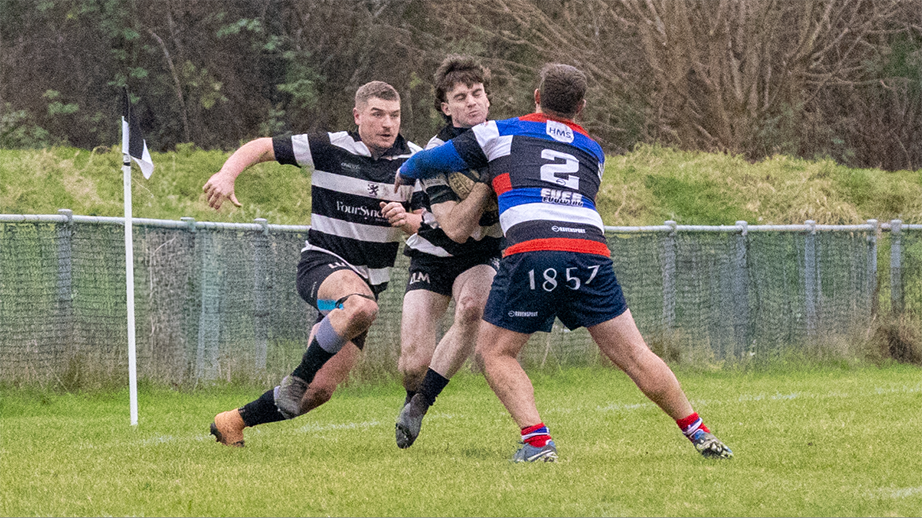
The unedited photograph:

The finished product:

How do we get from the first photograph to the second?
The process of editing photographs is known as "post-processing" or "retouching." This involves using software to adjust various settings, making the image more pleasing to the eye. Minor adjustments are referred to as "touch-ups."
The first picture is "as taken," with a 200mm zoom, a shutter speed of 1/1600 sec, an aperture of f/5.6, and an ISO of 6400. While these settings might not be meaningful to everyone, for the purpose of this article, it's not crucial. What these settings indicate is that on a cloudy late winter day, when you "crop in" to "enlarge" the image to reveal the details, you end up with this result:
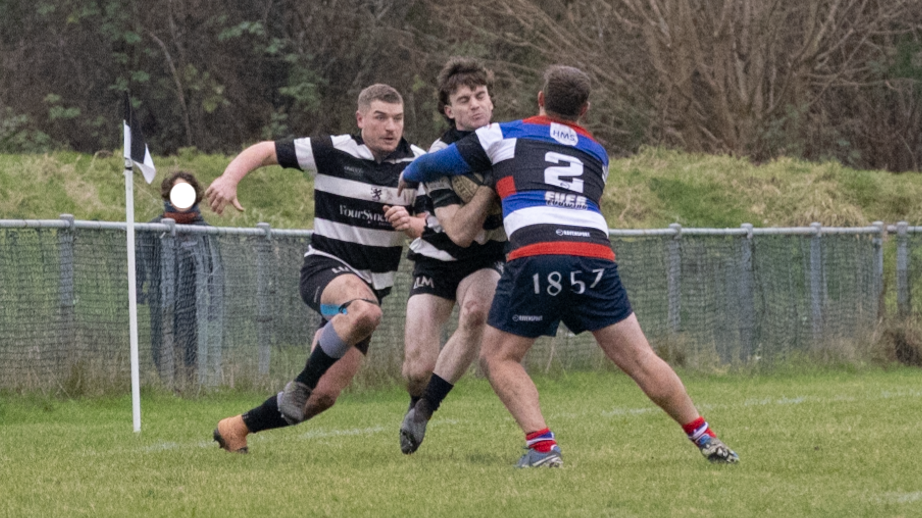
As you can see, the photo appears quite "speckly" (this is known as "noise"), but the players are now much closer to the camera and are well-framed.
Then comes the removal of any distracting elements
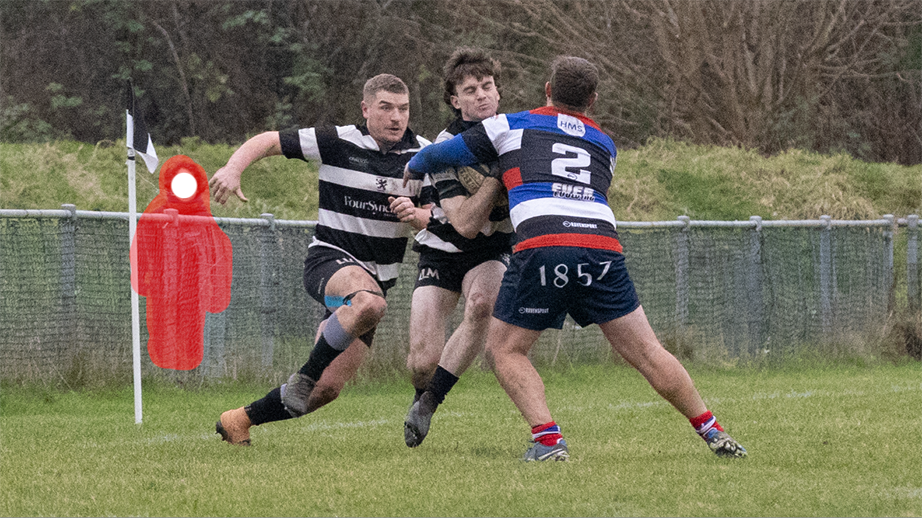
The next step in the process is to remove any unwanted elements that might distract from the subject. In this case, we have a small child in the background (for the purpose of this article, I’ve masked the child’s face).
We’re fortunate to live in an age where AI (Artificial Intelligence) can perform amazing tasks. I can't explain how it works, but I do know that it produces astonishing results.
In the image below, I’ve highlighted the child using the AI removal tool...
...and after letting the software "do its thing," the result is:
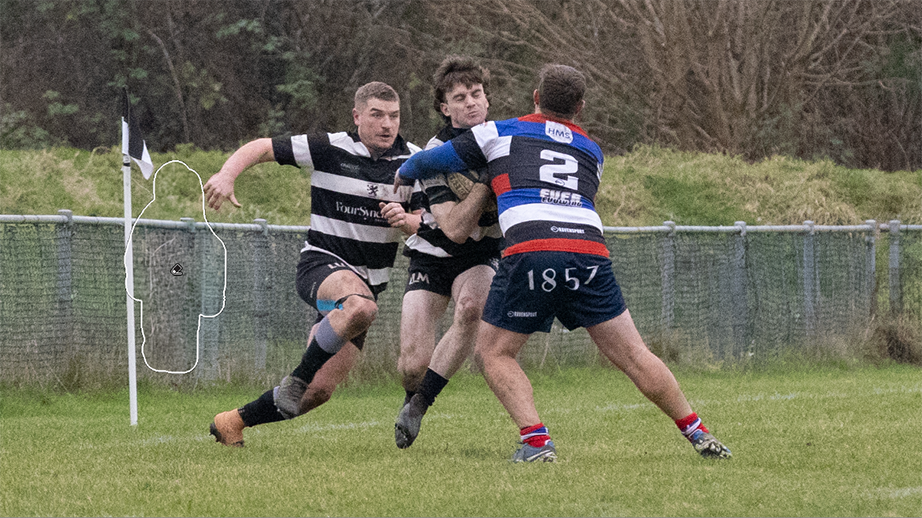
I know... amazing! The outline is just to show what the AI removal tool has taken out; it doesn't appear on the finished photo.
The "touch-up".
At this point, you can either "denoise" or "touch-up" the photo. I typically begin with an initial "touch-up."
"Touching-up" in Lightroom involves adjusting various parameters to achieve the desired result: a photo that is pleasing to look at. There are dozens of settings you can tweak, such as exposure, contrast, highlights, shadows, texture, clarity, vibrance, and more. Each of these can be adjusted in minute ways to significantly change the appearance of a photograph.
Fortunately, there's an "auto" button that provides a good starting point, allowing you to make small changes until you're satisfied. The following two pictures show the before and after of using "auto":

Subtle difference, but overall, a nicer photo.
The "denoise".
Next, we clear the "speckles," a process known as "denoising." Thanks to our incredible technology, we can simply click the "denoise" button. I’m simplifying the steps a bit, as there are many options to choose from when using both AI removal and the denoising tool, but you get the idea.
The "denoise" process can take anywhere between 10 and 30 minutes per photograph (depending on your PC and how much work needs to be done). When you have over 40 images (as with this shoot), it's often best to leave the photos "denoising" overnight (you can't do anything more to each image once you start the "denoise" process).
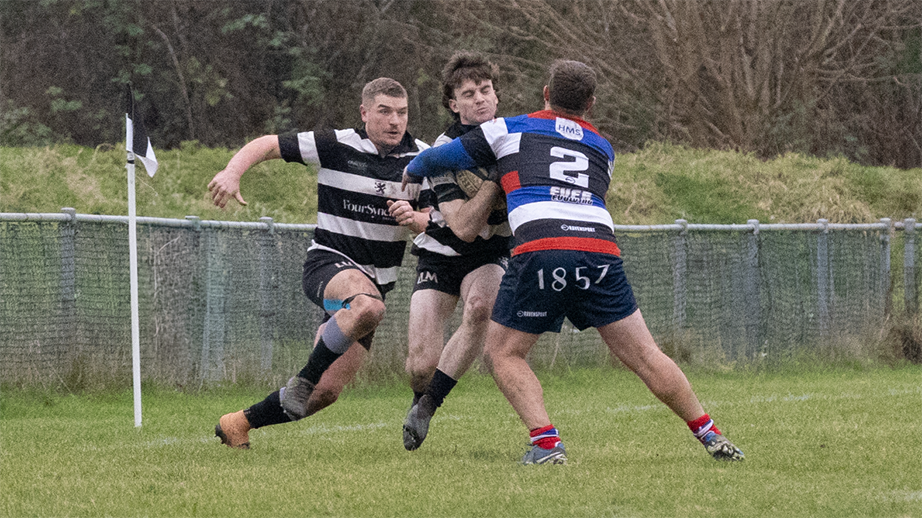
The next two photos show the before and after of the "denoise" process (with another quick "auto" touch-up afterward).
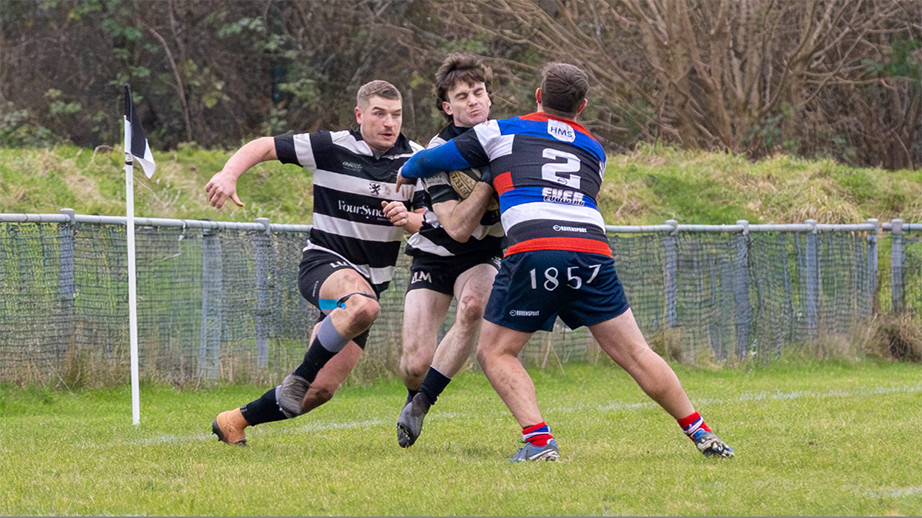
The results are in.
As you can see, there is a dramatic improvement in the image quality. The "noise" has been removed, resulting in a sharper picture. If you view the finished image at its intended larger size (check out this gallery), you’ll notice the enhanced quality.
I hope this has provided an interesting insight into how photos are processed before being uploaded to the website.
And if anyone feels like starting a "Go Fund Me" page to help me get the 400mm lens, I'd be over the moon!